How to Start Your First Next.js Project: From Installation to Hello World
How to Start Your First Next.js 15 Project: A Comprehensive Beginner’s Guide (2026 Edition)
Welcome to the world of modern web development! If you’ve ever wondered how high-performance websites like Wisemix Media are built, the answer often lies in Next.js.
Next.js has become the industry standard for React frameworks, offering unmatched speed, SEO capabilities, and developer experience. Whether you are working on a farm in Saudi Arabia like me or sitting in a high-tech office in Dubai, coding is a skill that opens doors. In this guide, I will take you from "zero" to your first "Hello World" in Next.js 15.
Why Choose Next.js in 2026?
Before we jump into the terminal, let’s understand why Next.js 15 is the preferred choice for developers today:
Server-Side Rendering (SSR): Your pages load faster because the server does the heavy lifting.
Search Engine Optimization (SEO): Unlike standard React apps, Next.js makes it easy for Google to crawl your site (essential for getting those clicks in Search Console!).
Automatic Image Optimization: No more manual resizing; Next.js handles it for you.
App Router: A simplified way to organize your website’s pages and layouts.
Phase 1: Preparing Your Digital Workspace (Prerequisites)
Every great builder needs a clean workbench and the right tools. For Next.js development, you need two main things:
1. Node.js & NPM (The Engine)
Node.js is the environment that allows JavaScript to run on your computer, and NPM (Node Package Manager) is the tool used to install libraries.
Action: Go to nodejs.org and download the LTS (Long Term Support) version.
Verification: Open your terminal and type
node -v. If a version number appears, you’re good to go!
2. VS Code (The Canvas)
Visual Studio Code is where the magic happens. It’s free, fast, and has incredible extensions for Next.js and Tailwind CSS.
Pro Tip: Once installed, add the "ES7+ React/Redux/React-Native snippets" extension to speed up your coding.
Phase 2: Creating Your First Project
Now, let’s get our hands dirty. We will use the create-next-app command, which sets up everything automatically.
Open your Terminal: On Windows, use CMD or PowerShell. On Mac/Linux, use the Terminal.
Navigate to your folder: I usually keep my projects on the Desktop.
Bash
cd DesktopRun the Magic Command:
Bash
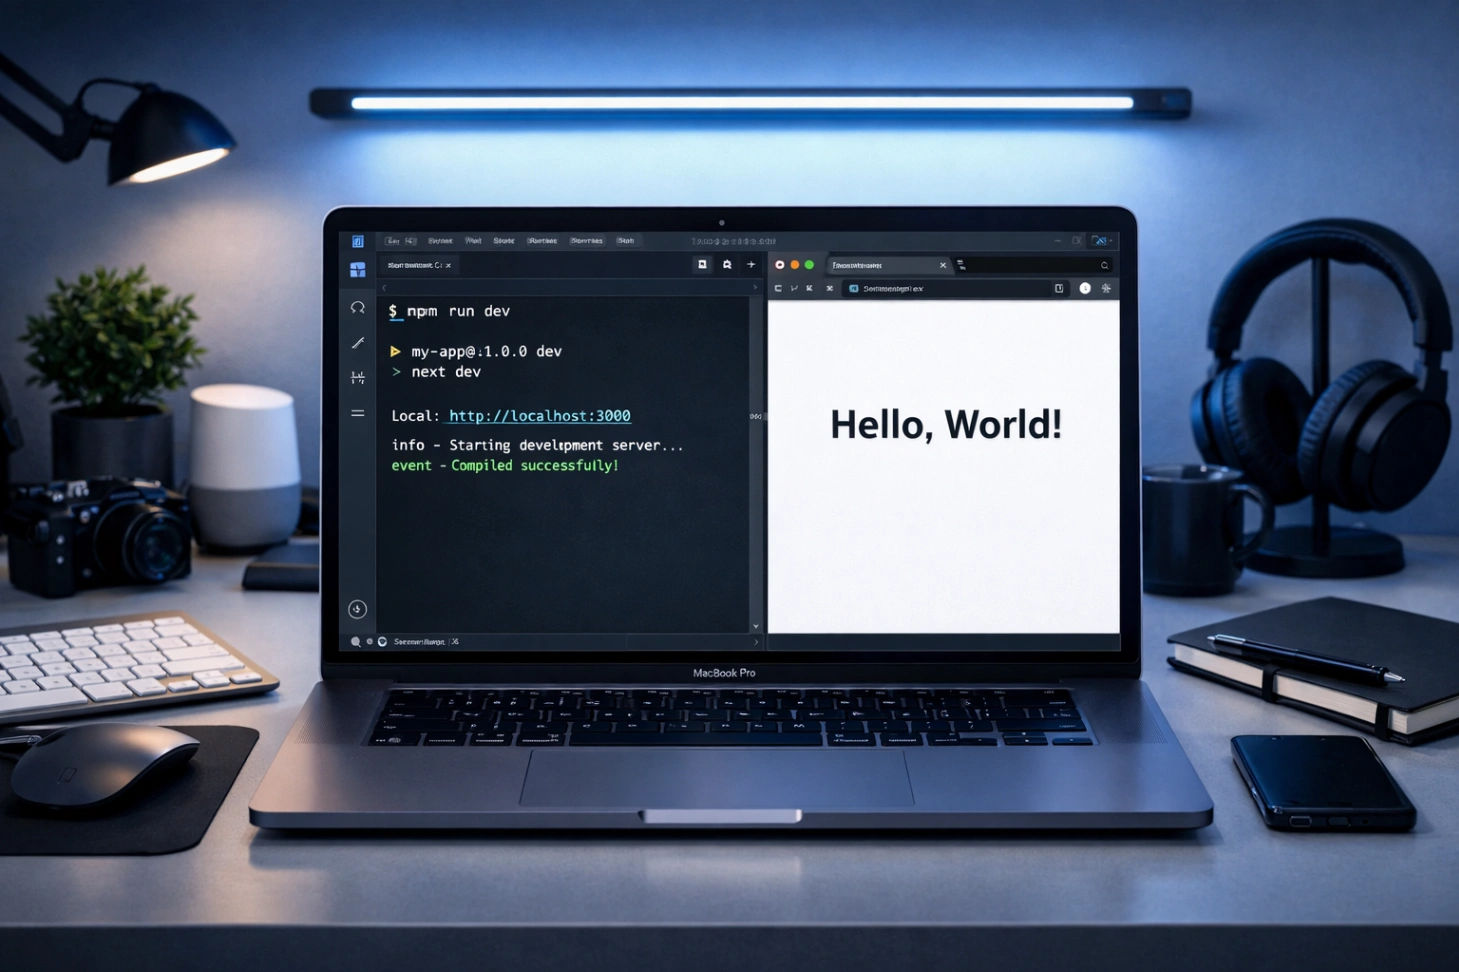
npx create-next-app@latest my-first-app
The Configuration Quiz
After you hit enter, the terminal will ask you a few questions. To follow this guide perfectly, choose these options:
TypeScript? No (We will start with JavaScript to keep it simple).
ESLint? Yes (This helps catch errors in your code).
Tailwind CSS? Yes (This is what we use for styling—it’s amazing!).
src/ directory? Yes (Keeps your project organized).
App Router? Yes (The modern way to build Next.js apps).
Import Alias? No (Just press Enter).
Phase 3: Understanding the Folder Structure
Once the installation finishes, open the folder in VS Code (File > Open Folder > my-first-app). You will see many files, but don’t feel overwhelmed. Here are the important ones:
src/app/: This is where your pages live.layout.js: This file controls the parts of your site that stay the same on every page (like the Header and Footer).